How To Buy A Car in Colombia
Long before our departure it was clear that sooner or later we wanted to buy a car to travel to South America. We both already owned cars for other long-term journeys and fell in love with the freedom one gets by owning ones own four wheels. But when we arrived in South America, we had to realize that buying a car here is not as easy as in New Zealand and the information you can find on the Internet mostly refers to Chile, which seems to be the country to go to if one wants to buy a car. However, as we were in Ecuador and wanted to head north, a detour to Chile was out of the question. So we started digging ourselves through the Colombian car purchase process with a lot of help from lovely people. Here comes a How-To Car Buying Guide for Colombia.
1. Finding a Car
At first glance the simplest step, but actually not a trivial one. Although you can find a huge selection of used cars on sites like TuCarro, not everything that glitters is gold. The first thing you will probably notice: Cars are damn expensive here! And old!! However, this means that cars are much better taken care of than in other countries. Or perhaps phrased differently: more is being repaired. Much more. So cars are getting way older here and are mostly still in good condition.
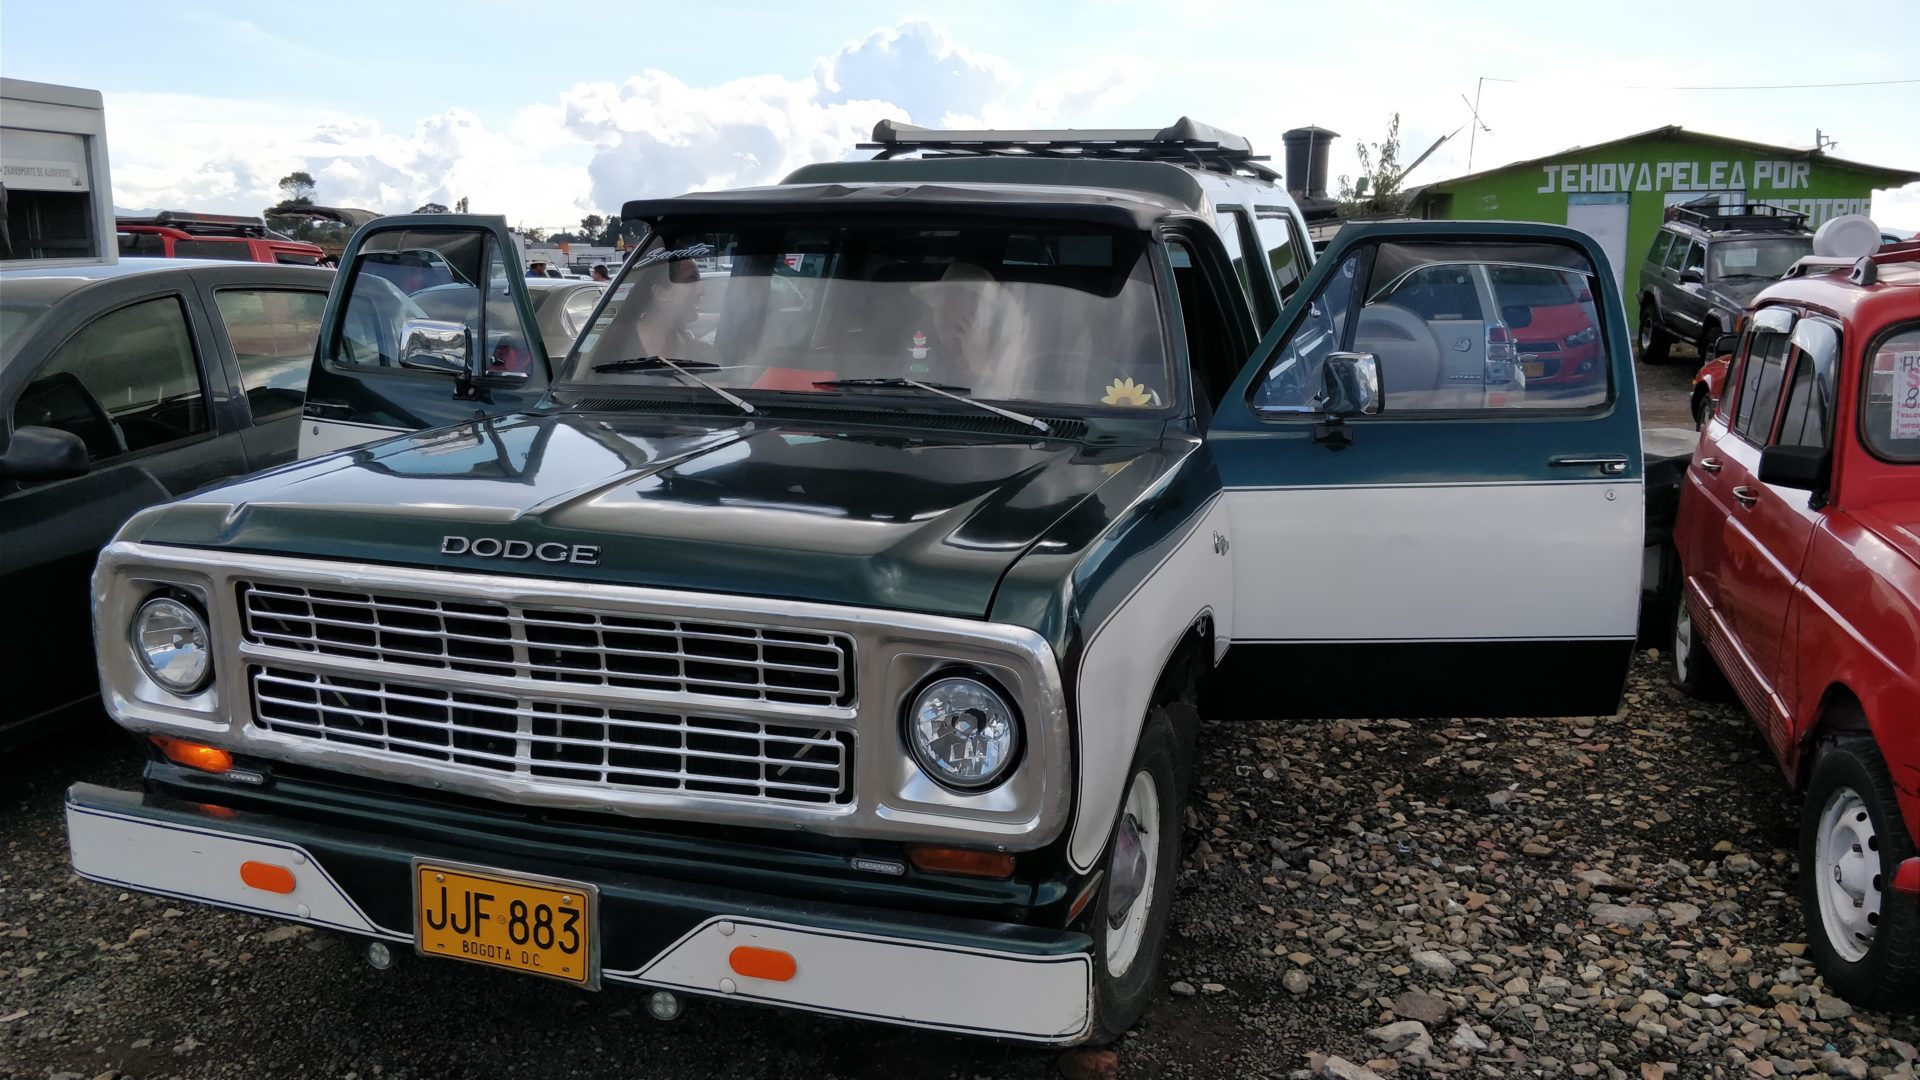
In order to get a first overview and to see the models we found on the Internet in real life, without having to arrange appointments with the owners, we visited a used car fair in Bogotá on the weekend – the Feria Automotriz. This was an extraordinary experience! Huge parking lots are being transformed into an exhibition space and yes, I really mean parking lots. It took us a few hours to explore the first one and just as we thought that was it, we realised that at least five more parking lots were filled with cars for sale. In between are small barbecue stands and the first beer is opened at noon. It is a weekend excursion. We enjoyed it very much. You can find the coordinates for the “flea market” on iOverlander, address is Tv.93#63-49 (near the airport). It is relatively easy to reach by public transport. So we looked around here diligently, measured cars, test drove crazy cars and got a rough overview. It should be mentioned that we were warned by some people that there are many stolen cars offered here. So to buy here directly is not recommended.
We finally found our car on TuCarro and had it checked afterwards.
Generally you should make sure that the Revisión Tecnomecanica (the annual inspection) and the SOAT (the insurance) are up to date and at best are still valid for some time as well as that the tax for the current year is paid. All three are mandatory and must be updated annually. The Revisión Tecnomecanica costs 181.000 Peso, the cost of the insurance and the tax depends on the car model.
2. Have Your Car checked by a good Mechanic
Seriously, do that. We took a car to the mechanic that looked wonderful and were then informed that it had an enormous accident and was completely restored. Of course, the salesman hadn’t told us about it. So, find a good mechanic you can trust (we also found ours on iOverlander) and do a thorough check up on the car you are interested in. We paid 100.000 Peso for our inspection.
3. Have Your Car checked by Interpol
This also is a really recommendable step. As mentioned before, you can’t know if a car has been stolen or not and if you reach the border with your newly purchased car and it turns out that it was stolen, it will be confiscated. Simple as that. To prevent this from happening you can have the car you are interested in checked out at Interpol (or as it is called here: DIJIN).
The procedure is as follows: One arrives within the opening hours and hopes that a small car equipped with a photocopier stands in front of the building. There you can pay, with a little service surcharge, a fee that you can otherwise only, I repeat: only, pay at a Banco Popular that has a counter. The closest one is conveniently not around the corner, but quite a bit away through the crazy city traffic. Once you arrive there you wait for a long time, and I mean really long, in a queue of which you do not necessarily know if it is the right one. So you better pay the few pesos more, it saves nerves, I promise. For the paper that you get issued you need the identity card number of the current owner as well as for the further process a copy of the identity card. If you don’t have a copy with you, there are copyshops in the area, or you can have the copy cart do it for you. To have the car checked by Interpol cost us 49,181.13 pesos (paid directly at the bank, or the mentioned cart). We had negotiated it in such a way that the seller bears the costs and if Interpol determines that everything is in order with the car, that means neither stolen, nor ever involved in criminal activities and no unpaid parking tickets are open, we will pay the costs.
4. SIM
The SIM officials can find out some things, such as who the previous owners of the car were or whether the tax was paid for the current and past years. A car can not be sold if those costs have not been paid, means you would have to pay them before even being able to buy it. At the SIM the car is actually bought later on. For this you have to register in their system, which is now also possible with your passport, which makes buying a car possible for tourists. Just bring your passport and some time with you. You will be asked for an address to which speeding tickets can be sent. We gave the address of the hostel where we lived at that time. No problem.
5. Buying a Car
Now it’s getting exciting. The car purchase itself is very informal. You can buy the standard form for buying a car in any stationery shop, for example at Panamerica. It doesn’t cost much. Fill in this form, sign it and add a fingerprint of the buyer and the seller. In addition, passports or identity cards must be copied and enclosed. The car must also provide its data, means the model plate, engine and chassis number must be “copied” with a sticker and some charcoal. Apart from the sales contract, there is also another document to fill out with information about the car. This will be given to you in the SIM (“Formulario de Solicitud de Trámites del Registros National Automotor”). You then bring these papers into the SIM and here it gets interesting. In fact, only one person per request is allowed to enter the office, so it is not important that buyers and sellers are present. We filled out the forms in a café opposite the office. In the SIM a sales tax has to be paid, which is calculated according to the car type. In total, we paid the SIM 188,400 pesos for the tax and transaction fee. We shared these costs with the seller.
6. Wait
Now you have to wait, but not too long. The SIM takes about a week to check all the data and issues a Trajeta de Propriedad. On it the model, the number plate, the name of the owner and some other things are noted. All highly official. We used the time to build in a bed and storage space into our new home and otherwise made it fit to travel.
Further interesting information about buying a car in Colombia and travelling with a car in South America
- During our research we repeatedly found reports about buying a car in Chile and the peculiarities that arise with the purchase there, for example a restriction on how long you can leave the country with your car. When we had to leave Colombia because our visa was about to expire, I asked at the border if there were any time restrictions for the export of a Colombian car. The border official looked at me as if I had lost my mind and then said that I could do whatever I wanted with my car. In fact, no problems arose re-entering the country eight months later.
- For each country you enter with your car, you will receive a temporary import permit (TIP) at the border. You should guard this paper like the apple of your eye. There seems to be no way to get it back if you lose it. So we always took a photo of the paper to be on the safe side. When you leave the country the paper will be stamped and retained. German as we are we also photographed this exit paper, although we had no idea what for… When we wanted to re-enter Ecuador, we discovered why: the small border in the middle of nowhere where we left some months ago was not connected to the internet and therefore also not to their visa system. They had forgotten to register us as having left. Months later we arrived at another border to enter Ecuador again and were not allowed to enter since apparently we never left. For us, the matter was explained fairly quickly, as we could show the relevant stamps in our passports, but for the car there was no documentation. At this moment, not that I think it happens often (but you never know), the photo of the stamped TIP paper was worth pure gold.
- You will find many other useful tips for a trip with your own car here and here*.
* in german, translation following soon